Edit Your Photos So They Look Like One Set
Photos from different days and cameras can still look like one project, if they go through the same edit. Consistency in the edit matters more than the quality of any single photo.
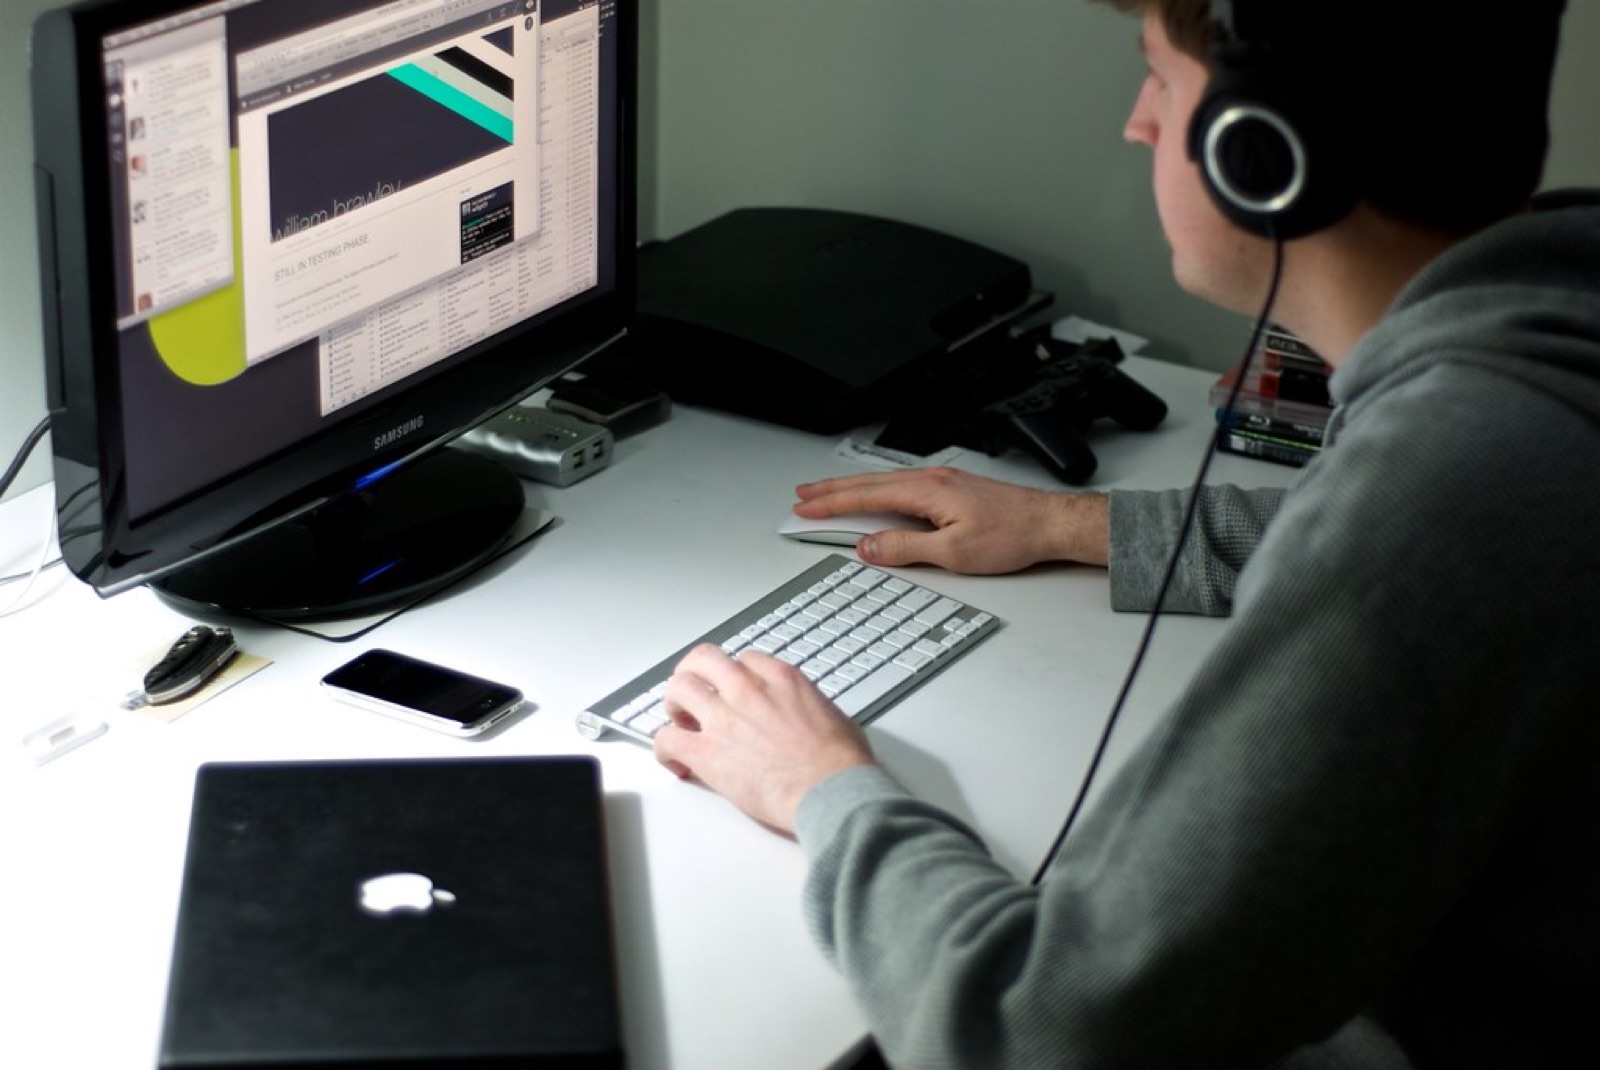 Photo: “Day 111, Project 365 - 2.10.10” by William Brawley, CC BY 2.0.
One look, written down
An edit is a handful of adjustments. To repeat it you need to know which ones:
- Temperature: warmer or cooler than the original
- Contrast: deep blacks or lifted, faded blacks
- Saturation: how intense the colors are
- Tint in the shadows and highlights: for example, slightly blue shadows and warm highlights
- Grain: none, fine or heavy
You already set these dials in step 7. The edit is where they become real.
Build it on one photo
Take your lead photo and edit it until it matches your words and your palette. Go further than feels right, then pull back by a third. Edits usually look best a little weaker than the version you made while excited.
Then save it as a preset. Every common editing app, on phone or computer, lets you save a set of adjustments and apply it to other photos with one tap.
Apply, then correct
Run the preset over your whole selection. It will not look right on all of them, because each photo started from a different exposure. Fix only the basics on each one, exposure and white balance, and leave the look alone.
Put all the edited photos in one grid and look for the one that stands out. Adjust that one until it disappears into the set.
The goal of the edit is that no single photo looks edited, and all of them look related.
Skin and reality
Keep skin tones believable. A look that turns faces orange or gray will be noticed before anything else. And keep retouching light. People will meet you at a show.
Use the same look in video
For video, the same idea is stored in a file called a LUT, which applies a color look to footage. If you film often, having one LUT that matches your photo preset connects the two. We explain LUTs in Nobody Has Time to Learn Color Grading Between Shows.
Do this now
Create your preset on the lead photo, apply it to the five photos from step 14 and compare them in a grid. Save the preset with your artist name.
A consistent look across photos and video is part of the visual system we build with artists. See how.
If this is something your project needs, get in touch.
Get new posts by email
Ideas for independent artists. We will send a confirmation email. If you do not see it, check your spam folder.