How to Make Your Own Music Video: Direction, Filming and Editing for Independent Artists
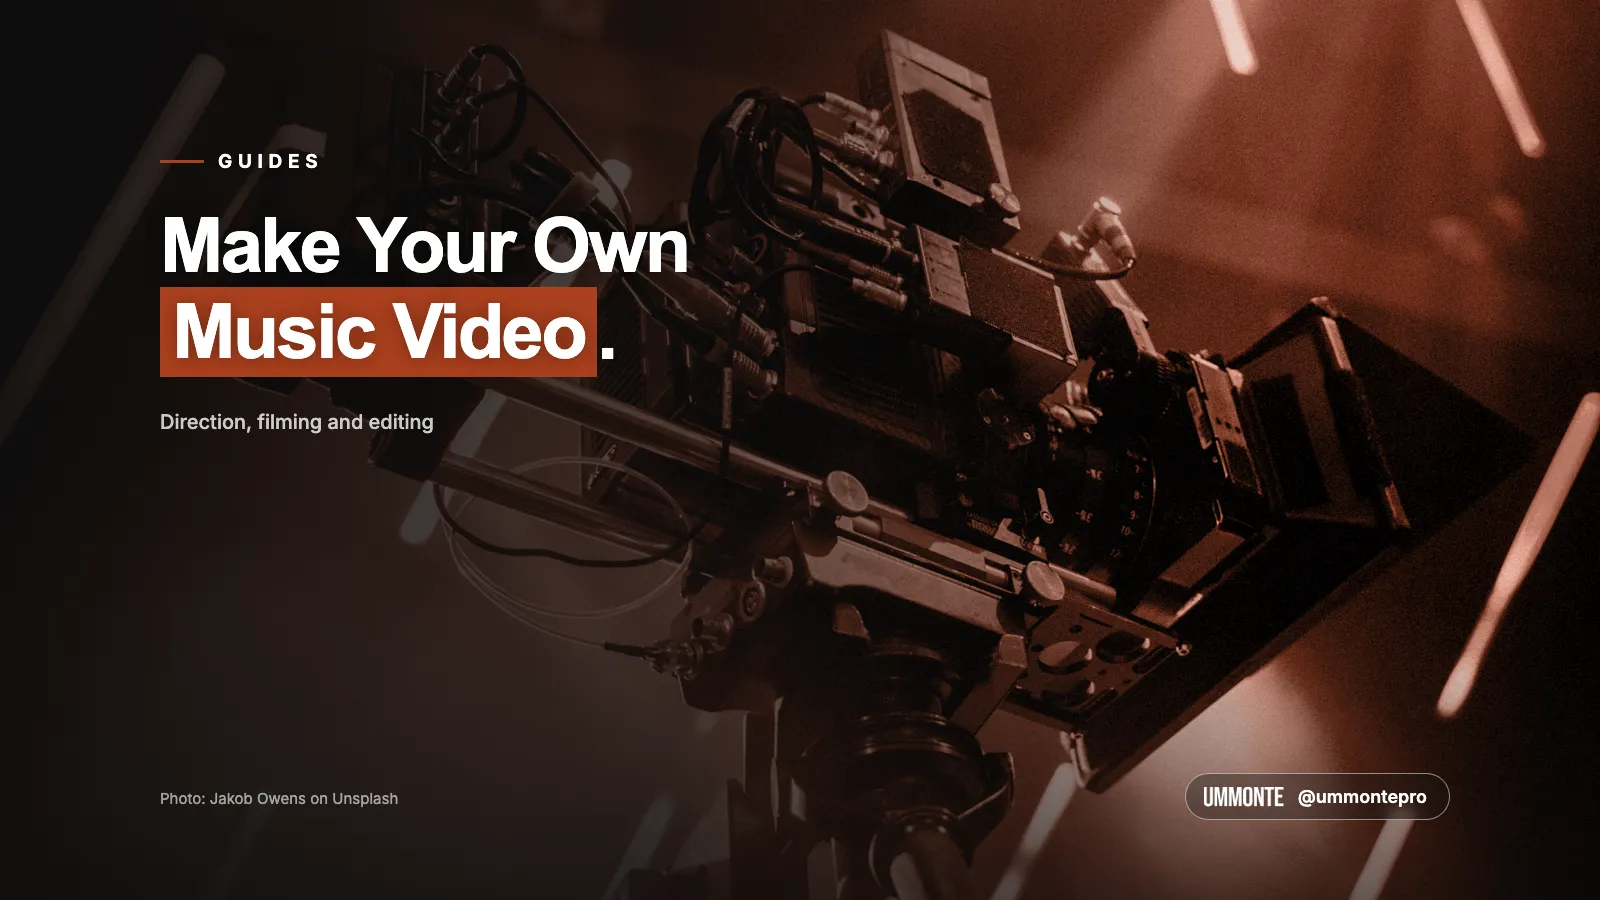
You can make a good music video with a phone, one light and a free editor. What decides the result is direction: knowing what the video must look like before you film anything. This guide covers why the video matters, how your brand book drives it, and how to plan, film, edit and export it.
Why the music video is the main piece
A music video is the biggest creative piece of a release, and the one where an artist’s image takes shape. Directing it means deciding how the artist looks, what world they live in, which colors, places and details come back in every frame. A band whose videos share those decisions starts to have a universe. A band whose videos do not share them has a set of unrelated clips.
It is also the piece that gives the most back. One video is a source for many smaller pieces: vertical cuts, stills, covers, thumbnails, short loops, behind-the-scenes clips, posts and stories. We cover that in one shoot, thirty pieces. That is why the music video is our main focus at UMMONTE. It is what we like making most, and what we believe produces the strongest results for an artist.
Everything starts from your brand book
The one element that should sit behind every creative decision, in a video and in anything else an artist or band makes, is a brand book. A brand book is a document that holds your decisions: logo, colors, typefaces, photo and video style, tone of voice. When you plan a video, you open it. When you design a cover, you open it. When someone else edits for you, you send it.
A brand book is built on your visual identity. If you do not have one yet, we teach how to create it step by step in the free series Visual Identity for Musicians, and we also help artists and bands develop their identity. Once it exists, the brand book writes it down so it can be used by anyone, at any time. We explain what goes in it and how to make one in How to Create a Brand Book as an Independent Artist.
How to use this guide
Everything below is a suggestion, not a rule. These are directions that work, and they are subjective. Rules can be broken once you know what you are doing. At the start, we strongly suggest following them, because that is how you learn and gain confidence.
Artists who are doing well follow many formulas, and that helps. You do not need to copy anyone. The aim is a balance: take inspiration from others, then make it yours. Doing something fully new is very hard today, since most ideas have been done before. What is still unique is your combination of choices.
1. Start from your brand book
Before the first shot, write down what the video has to respect. These are suggestions to adapt, not a fixed formula. If you have a brand book, this takes ten minutes. If you do not, start with the three lines below and build the book afterwards.
- Color. Name the palette the video will use, and what it must not use.
- Reference. Pick one reference frame, not a whole mood board. We explain how here.
- Never. Write what the video must never look like. It is usually the fastest line to write.
- Type and logo. Decide how the artist name and song title appear on screen, using your typefaces and wordmark.
- Photo and video style. Note the kind of light, the pace of cuts and the grade you want.
2. Plan on paper
Planning is where a self-made video is won or lost. The points here are suggested starting directions. Change them when the song asks for it.
- Pick one idea. One location, one outfit, no more than three setups. Fewer setups means more time per shot.
- Make a shot list. For each part of the song (verse, chorus, bridge), list four shots: wide, medium, close-up and one detail. A detail is hands, an instrument, a light, a texture.
- Mark performance and cutaway. Performance shots show the artist playing or singing. Cutaways are everything else. You need both to edit with.
- Frame for two formats. Shoot horizontal (16:9) for the main video. Keep the subject near the center so a vertical (9:16) crop still works later.
- Decide who does what. Who holds the camera, who watches the frame, who plays the song back.
3. What you need
Gear matters less than people expect. The list here is a minimum that works, and you can swap any item for what you already own.
- A phone or camera that shoots 4K, or at least 1080p.
- A tripod, or anything stable to rest the camera on.
- One light source: a window, or a single lamp.
- A speaker to play the song during filming.
- Enough storage, and a way to back up the footage the same day.
You do not need a microphone. The video will use your finished master of the song, not the sound from the shoot.
4. Filming
This is where most technical advice lives. It is a set of safe defaults, and each one has exceptions once you know why it exists. Follow them on your first videos and break them on purpose later.
Camera settings
- Pick one frame rate (24, 25 or 30 fps) and use it for every clip. Mixing them causes stutter in the edit.
- Lock exposure and focus. On a phone, tap and hold on the subject until it says locked.
- If your camera allows it, set the shutter to about double the frame rate (1/50 at 24 or 25 fps). Motion looks natural that way.
- Shoot extra clips at 60 fps or higher. Played back at half speed, they give you slow motion.
Light
- Use a window as the main light. Place the artist facing it, or at an angle to it.
- Turn off other lights in the room. Mixed light colors are hard to fix later.
- Shoot at the same time of day so the light matches from clip to clip.
Performance
- Play the master song through a speaker at full speed and perform to it. This keeps the mouth and the instrument in time with the final audio.
- Record every take from the top of the song, or from the top of a section. Do at least three takes per setup.
- Start each take with a clap near the camera. It gives you a clear sync point in the edit.
Movement and framing
- Locked-off tripod shots are the safest. Add a slow push-in or a slow walk-in when the song builds.
- If you shoot handheld, keep your elbows tucked in and move slowly.
- Check the edges of the frame before each take for stray objects, cables and reflections.
Cutaways
- Film 10 seconds of each: hands, the instrument, the room, a light, a close-up of the face.
- Film them at the end of each setup, while the light and the set are still in place.
5. Editing
Editing is where the direction shows. The steps below are a working order, offered as guidance. Experienced editors skip and reorder them, and you can too once the order stops helping.
You can use DaVinci Resolve (it has a free version), CapCut or iMovie. The steps are the same in all of them.
- Put the master song on the timeline first. Everything is cut to it.
- Sync the takes. Line up each clip with the song using the clap or the waveform.
- Build a base. Lay your best performance take along the whole song.
- Cut away. Switch to another angle or a cutaway when the section changes (verse to chorus, chorus to bridge).
- Cut on the beat. Place cuts on strong beats. Cut faster in the chorus, slower in quiet parts. A shot of two to four seconds is a good starting length.
- Remove dead frames. Trim the moments before the artist moves and after they stop.
- Grade once. Fix exposure and white balance on one clip. Copy those settings to the others. Then apply the look from your brand book across the whole video.
- Add the text last. Artist name and song title on screen for two to three seconds at the start, in the typeface from your brand book. Keep text away from the edges.
Plan the shots on paper. Film to the master track. Cut on the beat.
6. Export
Exporting is the most technical step and the one with the clearest answers. Treat these as recommended settings, and check each platform’s current requirements before you upload.
- Main video: 16:9, 1920x1080 or 3840x2160, same frame rate as filmed, MP4 (H.264), high quality setting.
- Vertical cut: 9:16, 1080x1920, 15 to 30 seconds from the strongest moment, for Reels, Shorts and TikTok.
- Feed cut: 4:5, optional, for Instagram.
The 16:9 main video matters beyond YouTube. Spotify now accepts full-length music videos and live performances, tied to one song, with 16:9 recommended. It is a beta, so check Spotify’s current rules.
Common mistakes
- Filming without a brand book or three clear lines, then deciding the look in the edit.
- Filming only vertical, then having no main video.
- Mixing frame rates.
- Filming without a sync point.
- Using three or four locations in one day.
- Letting the phone choose focus and exposure on its own during a take.
- Not backing up the footage the same day.
- Adding effects to hide weak footage. Fix the shot instead.
Checklist
- Brand book open, or three lines written: color, reference, never.
- Shot list for every section of the song.
- One frame rate, locked exposure and focus.
- Master song playing during every take, with a clap at the start.
- Cutaways filmed, footage backed up.
- Edit cut to the master song, on the beat, graded with your look.
- Exported: 16:9 main video, 9:16 cut.
If you want support
You can do all of this alone. If you want help, we work with artists and bands at several points:
- Creative direction from a distance: the idea, the references and the shot list, agreed before anything is filmed.
- Editing and color: we cut and grade from your footage.
- The shoot: tell us what you have and where you are. We can guide the filming remotely, travel to film in person anywhere in the world, or hire local filmmakers where you are. In-person filming is priced separately, and the quote usually includes travel, unless we are close to you.
- Your brand book: we create it based on your visual identity.
- Your visual identity: if you do not have one yet, we help develop it.
Take a look at our services or contact us. If a release is coming up and you want support with the video, this is part of what we do.
Keep reading
If this is something your project needs, get in touch.
Get new posts by email
Ideas for independent artists. We will send a confirmation email. If you do not see it, check your spam folder.